Beginner’s Guide to Semi-Hydroponics (LECA & Pon)
Growing houseplants is a rewarding and calming hobby, but many beginners shy away due to the challenges of soil care and watering. Enter Semi-Hydroponics: a game-changing alternative that simplifies plant care while promoting healthy growth. Whether you’re a complete beginner or just curious, this guide will walk you through everything you need to know about Semi-Hydroponics, LECA, Pon and how to grow plants with it.
Includes paid links. Read my Affiliate Disclaimer.
What is Semi-Hydroponics?
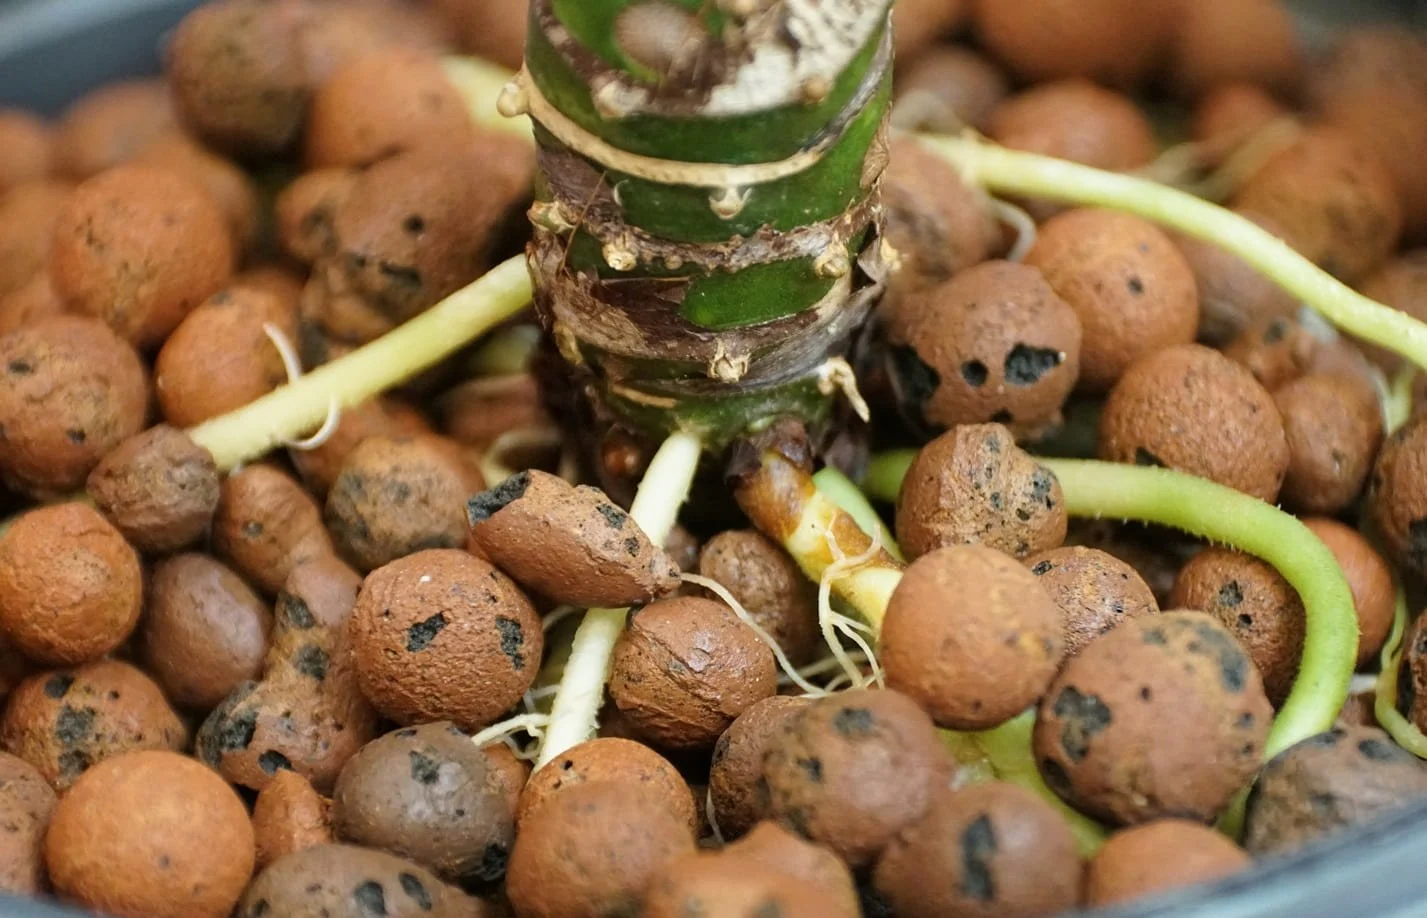
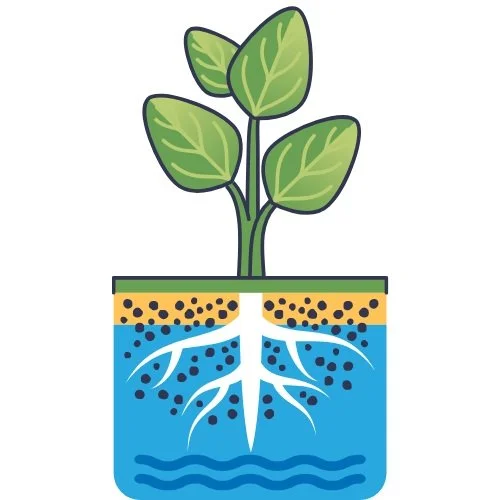
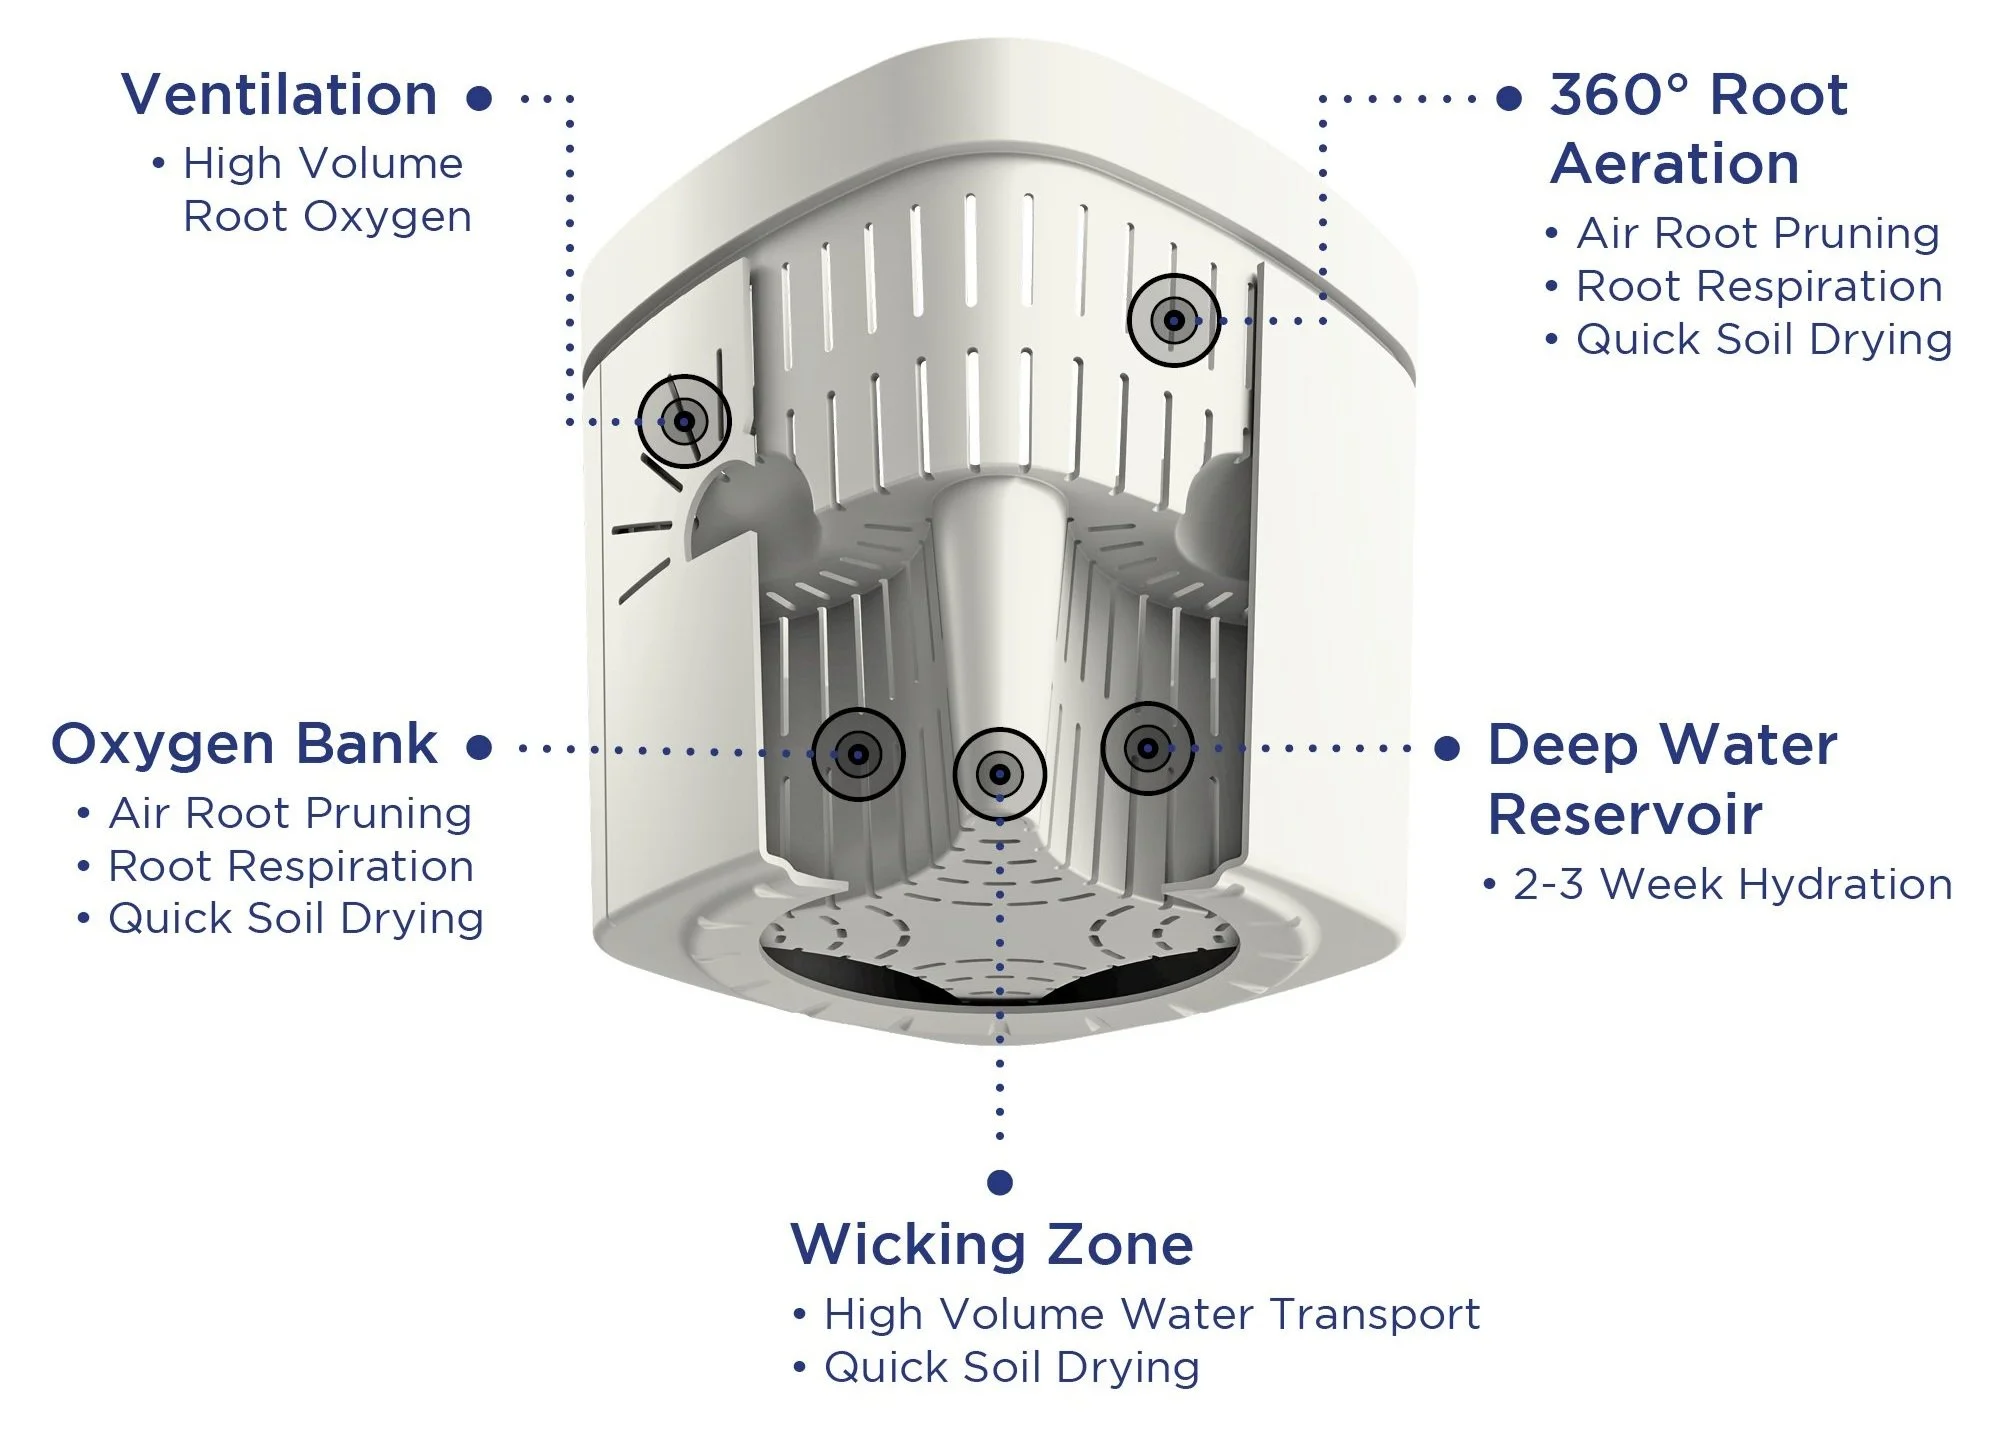
Semi-hydroponics, also known as “semi-hydro” or “passive hydroponics”, is a method for growing plants without soil. Instead of potting soil, plants are grown in an inorganic medium such as clay pebbles or small rocks over a water reservoir, and the plant's roots self-water themselves by drawing water and nutrients up through the medium via capillary action (also called "wicking").
Cool, but why would I want to use Semi-Hydroponics to grow houseplants?
You might be surprised to learn that growing houseplants in Semi-Hydroponics has several amazing advantages over growing in traditional potting soil and can dramatically simplify your plant care routine! These benefits include:
Simplified Watering Routine
Semi-hydroponics helps avoid over or under watering as plants self-water themselves from the reservoir.

Reduced Risk of Root Rot
Semi-hydroponics introduces more oxygen around houseplants’ roots, which reduces the risk of root rot.

Prevents Plant Pests
Semi-hydroponics can help prevent pests like fungus gnats that lay their eggs in moist soil.

Reusable
Because semi-hydroponic substrates are inorganic, they never break down and can be reused again and again.
Time and time again, I’ve helped struggling plant parents finally find success with their houseplants by teaching them the ins and outs of semi-hydroponics. This is why I’m so passionate about teaching others the benefits of semi-hydro!
Sounds great! How do I start growing houseplants with Semi-Hydroponics?
Step 1: Choose the right medium. LECA vs. Lechuza Pon
The two most popular mediums for growing plants in semi-hydroponics are LECA (“LECA clay balls”) and mineral substrate (“Lechuza Pon”).
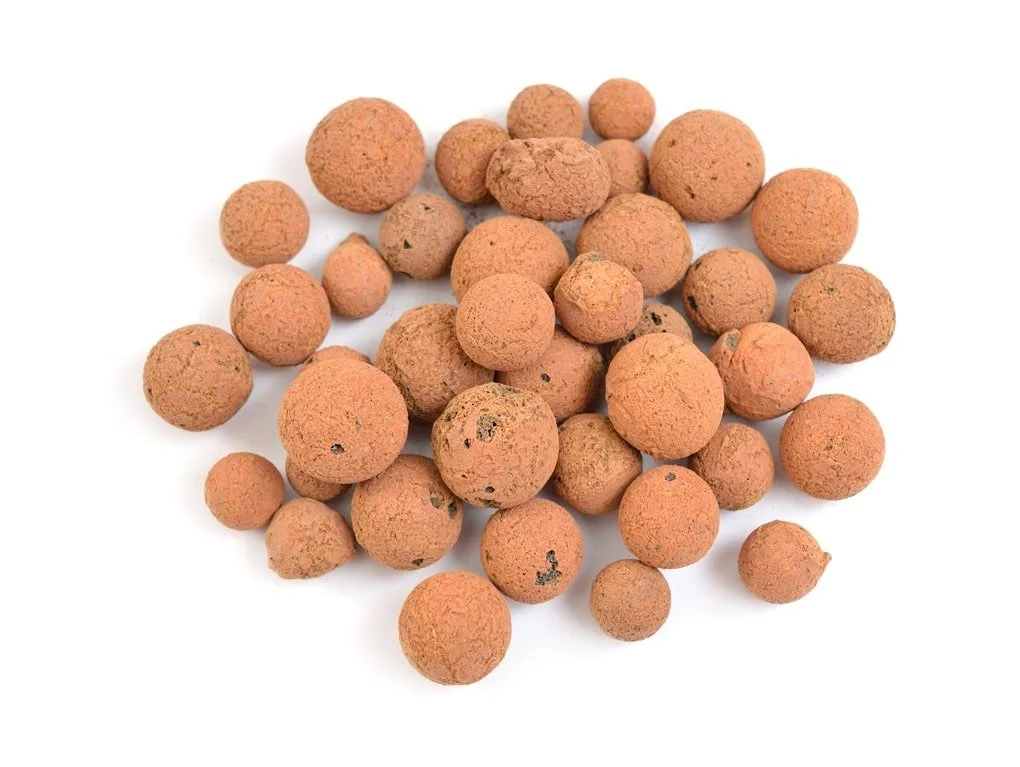
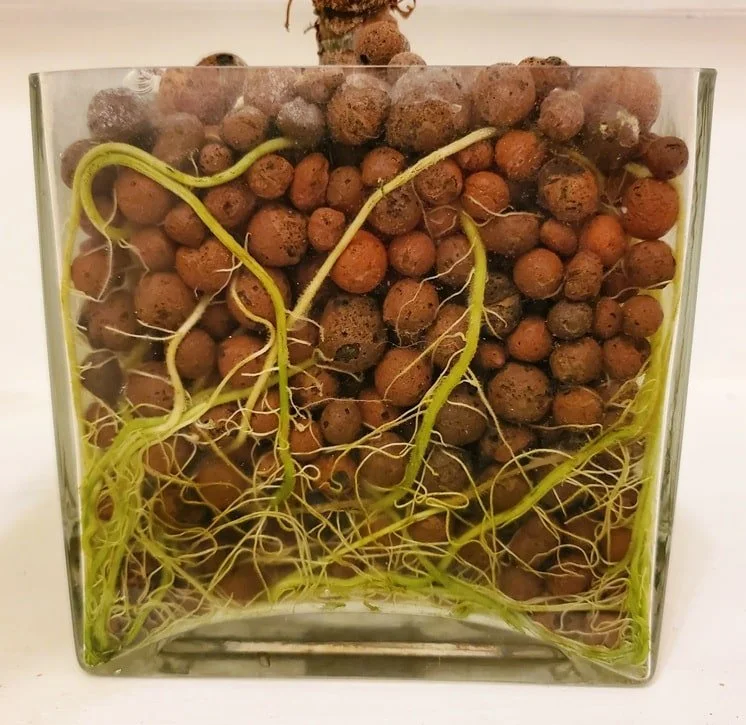
LECA is short for ‘Lightweight Expanded Clay Aggregate’ and are clay balls that have been heated to high temperatures to form lightweight, porous pellets. If you can picture Cocoa Puffs cereal, you’re on the right track. The LECA clay balls easily retain moisture and nutrients while allowing air to circulate around plant roots.
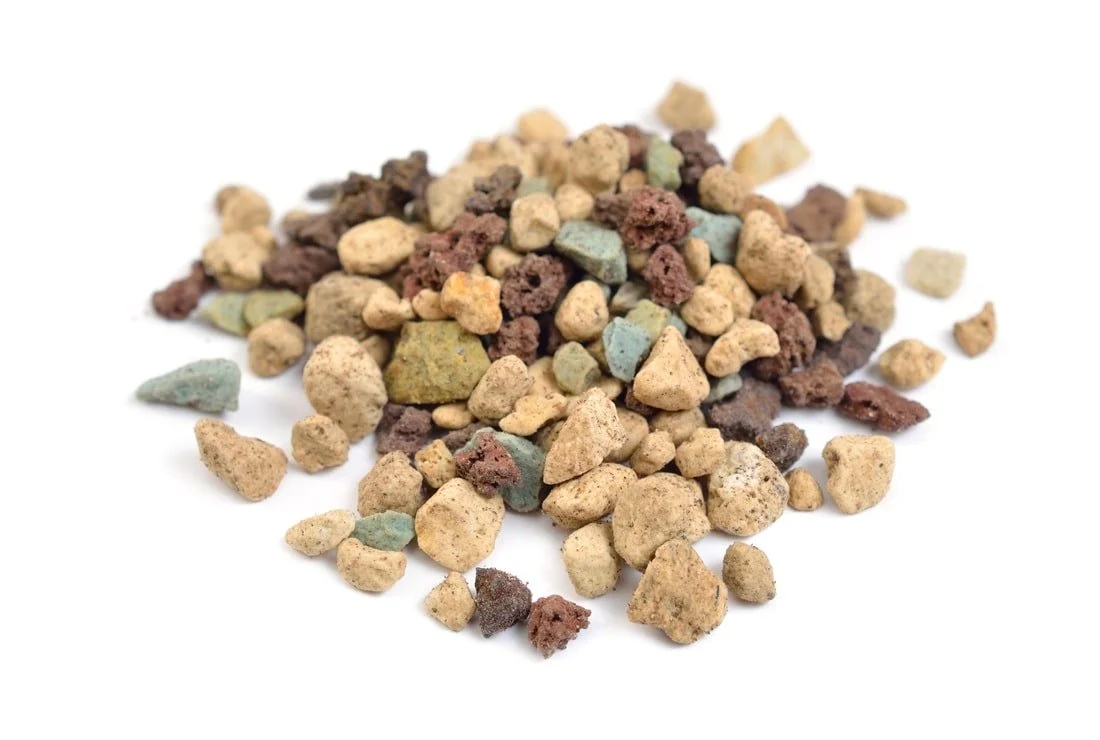
Mineral substrate is made up of porous rocks and minerals as opposed to clay. The most popular type of mineral substrate on the market is Lechuza Pon, which is made up of a mixture of zeolite, pumice, and lava rock. It’s so popular, in fact, that it frequently goes out of stock for months at a time, but thankfully there are plenty of ‘pon dupes’ that work very similarly.

In theory, you can grow any houseplant in either of these two mediums. However, from my personal experience growing over 100 plants in semi-hydroponics, I’ve found that LECA is easier to use with plants with thicker roots (think Monsteras or Orchids), while Pon is easier to use with plants with fine, delicate roots (think Alocasias & Pilea).
Step 2: Buy Your Semi-Hydroponic Supplies
I have put together the following affordable LECA & Pon Starter Kits. These kits contain all of essential products you’ll need to get started! :
A Quick Word on Semi-Hydroponic Pots:
There are three common semi-hydroponic pot set-ups: single-pot, wicking, & submerged.
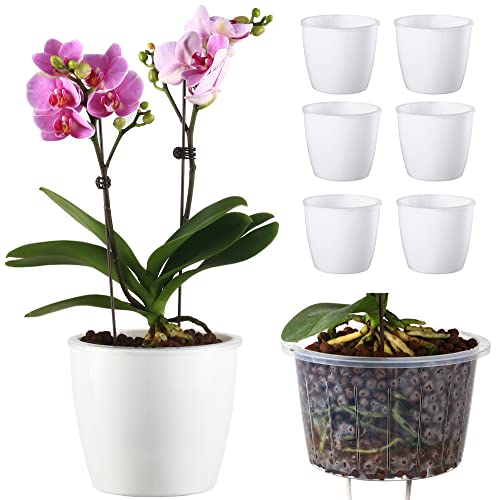
Submerged-Style Semi-Hydro Pots
A submerged set-up involves 2 pots: an inner net pot that houses the plant & substrate, which sits within a second outer cache pot that serves as your nutrient solution reservoir. The inner pot can be removed from the reservoir for easy plant maintenance. Because the substrate has direct contact with the nutrient solution, these set-ups tend to be “wetter” than wicking set-ups, discussed next.
Here are my favorite submerged-style pots!

10% Off with Link Below
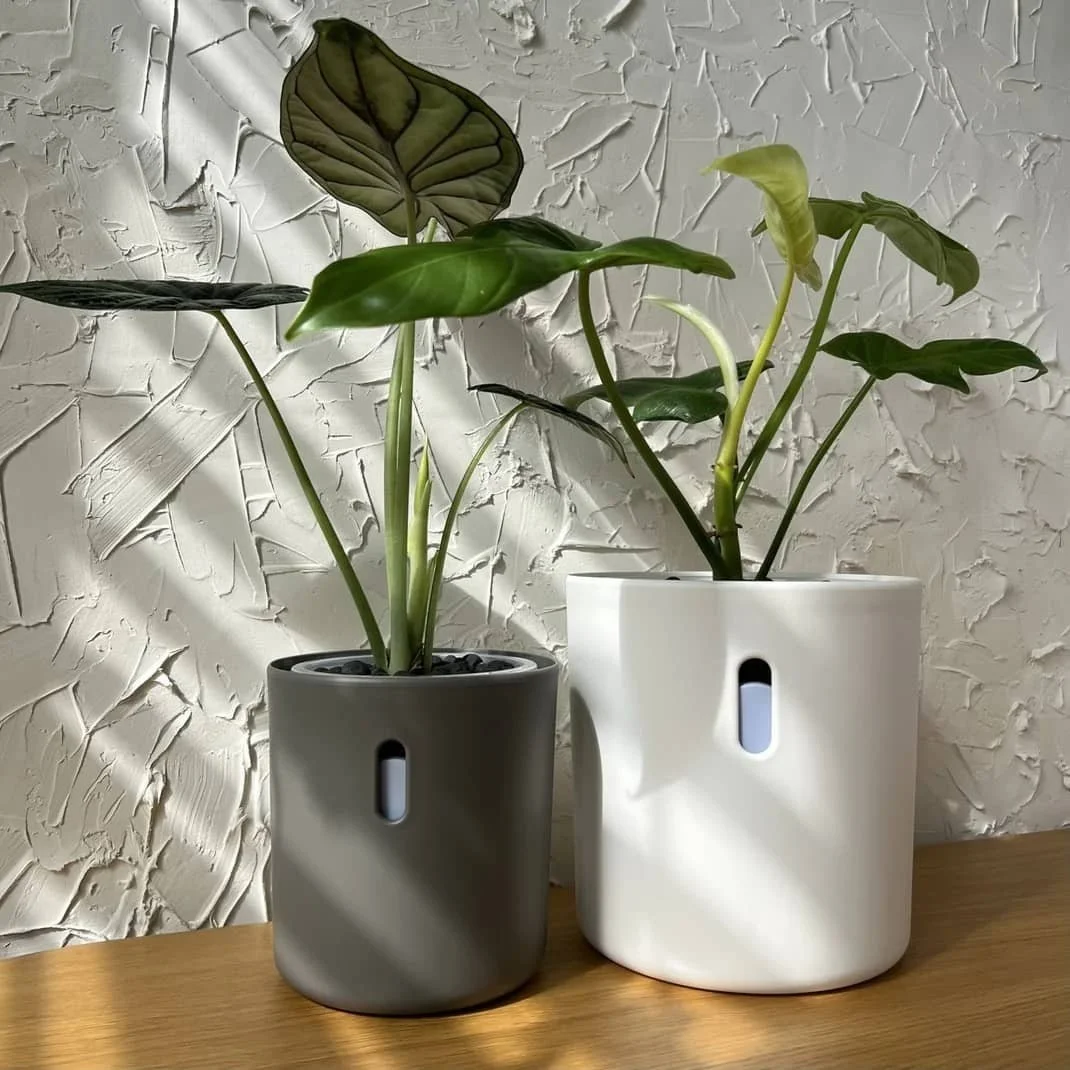

Wicking-Style Semi-Hydro Pots

Wicking set-ups also involve 2 pots, but this time the inner net pot is suspended above the outer reservoir. A cotton wick draws nutrient solution up from the reservoir to the inner pot. Because the substrate has no direct contact with the reservoir, these set-ups tend to be less “wet” than submerged set-ups.
Here are my favorite wicking-style pots!
Top Pick

Code CATHERINE10 for 10% Off
Most Affordable

w/ Clear Inner Pot
For Small Plants

Single Pot Semi-Hydro Pots
Single-pot set-ups are exactly what they sound like. The plant is placed in a single pot that also serves as the nutrient reservoir, surrounded by substrate. There is no inner net pot, and there is no way to separate the plant from the nutrient solution. The single-pot set-up can work in a pinch, but I do not recommend these set-ups long-term because it makes routine maintenance (like flushing) very difficult.

Step 3: Prepare your Substrate
Regardless of which soilless substrate you choose, make sure to prepare it by rinsing beforehand. Both LECA & Pon will arrive with a layer of dust created in the manufacturing & shipping processes. This dust, if not rinsed away, will make your water reservoir look cloudy and affect the quality and pH of your nutrient solution.
This dust is not the greatest for your home’s plumbing, so, when possible, try to rinse LECA & Pon outside using a sieve and your garden hose. Alternatively, you can use a salad spinner inside if it’s currently winter and you live in a cold climate like I do.
Some LECA/pon users take the extra step of letting their substrate soak in water for 24 hours, but I’ve found that this is not necessary as any trace amounts of dust left-over will gradually flush itself out over time.
Step 4: Choose your Plant
One of the biggest mistakes I see plant parents make is that they try to transition a plant that is unhealthy or dying to semi hydroponics in a last ditch effort to save it. This is the most surefire way to kill your plant.
When a plant transitions from soil to LECA or another semi hydroponic setup, the plant will experience a temporary period of shock as its root system adjusts to the new growing environment. While this isn’t a problem for a healthy plant, this could mean the demise of an unhealthy one. To ensure your success with Semi Hydroponics, choose plants to transition that:
· Are Healthy (no signs of root rot or being infected by plant pests)
· Aren’t overly mature (small plants or propagations work best)
Based on my extensive experience with transitioning plants to semi hydroponics, some of the easiest plants to transition are:

Monstera

Alocasia

Orchid
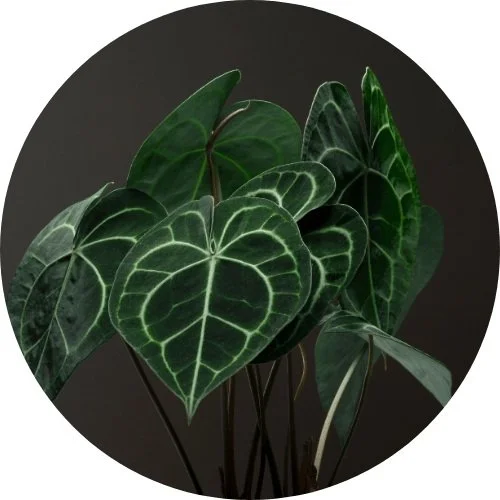
Anthurium
Step 5: Clean the Roots
Once you’ve identified the perfect plant to transition to semi hydro, it’s time to clean the roots of soil. Any organic matter (such as potting soil, moss, etc) left over in a hydroponic system will rot, so it is important to remove as much of it as possible without damaging the root system.
For best results, follow these tips:
Be Gentle : Remove your plant from its existing soil carefully, ensuring minimal damage to the roots.
Rinse : Rinse the roots under lukewarm water (never hot!) to remove all soil. The spray nozzle on your faucet or garden hose works great or this!
Prune : Inspect the roots and trim away any roots that are dead or rotting. It is also recommended to trim a small bottom portion of any healthy roots to stimulate new root growth.
Don’t stress : If you can’t remove all of the soil, that’s OK. It’s better to keep the majority of the roots in tact rather than completely decimating the root system.
Step 6: Pot up your Plant
If using a wicking-style pot, first thread the wick through the inner pot so that the ends hang below it.
Fill up the inner pot 1/3 of the way with your substrate (LECA or Pon).
Place your plant on top of the substrate currently in the inner pot.
Add more substrate to surround the plants’ roots. Tap the pot to ensure the roots are supported by not overly packed.
Run water over the plant & inner pot to moisten the substrate, then place it over/into the reservoir.
Step 7: Mix up your Nutrient Solution
While there are a ton of additives on the market, the only essential ingredient you must add to your nutrient solution is a complete hydroponic fertilizer. I recommend taking a gallon water jug, filling it up with tap water, and mixing it with your fertilizer of choice using the hydroponic dosing on the bottle.
Tip: If using the Foliage Pro Fertilizer in my starter kit, the ratio is 1 Tsp per gallon.
Want to supercharge your plants’ growth?
Check out my Nutrient Solution Additive Guide!
Step 8: Water and Fertilize
If your reservoir has a water level indicator, fill the reservoir with your nutrient solution to the max fill line.
If your reservoir does not have a water level indicator, fill the reservoir with your nutrient solution to just below the inner pot (if using a wicking-style pot) or 1/3 of the height of the inner pot (if using a submerged-style pot).
Going forward, watering in semi-hydroponics is very straightforward: simply refill your reservoir with nutrient solution whenever it gets low! Whether you choose to let your reservoir completely dry out or remain constantly moist is up to you. Over time, you’ll develop a sense for what plants prefer different moisture levels.
Step 9: Place in a Humid Spot
The ideal growing environment for a plant transitioning to semi hydroponics is a bright, warm, humid one. Go ahead and place your plant in your indoor greenhouse cabinet if you have one, or in bright, indirect light if you don’t. Consider boosting the humidity levels by placing the plant under a cloche or even in a sealed Ziploc bag.
Step 10: Monitoring & Maintenance
Based on my experience, on average it takes a plant 1 month to fully transition to its new semi hydroponic environment. During that time, make sure to monitor the plant for yellowing leaves, root rot, and other signs of severe distress. Remember that a few yellowing or dying leaves is 100% normal during the transition. But, if more than half of the leaves are dying, you may need to intervene (more info coming soon!).
The Importance of Flushing
Other than refilling your nutrient solution, the only other ongoing maintenance you’ll need to perform to promote the health of your Semi-Hydroponic plant is called “Flushing.”
What is Flushing in Semi-Hydroponics?
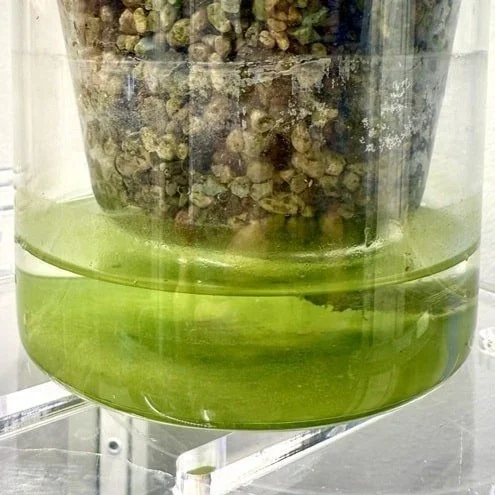
Flushing is the process of rinsing away excess salts, algae, nutrients, & organic matter that accumulate in your semi-hydroponic set-up over time with clean water.
Why is Flushing Important in Semi-Hydroponics?
Flushing is important in Semi-Hydroponics because it is the main treatment & prevention for almost every problem you’ll encounter in semi-hydroponic growing, like root rot, algae, nutrient deficiency/lockout & more. Excess salts, uncontrolled algae blooms, & rotting matter can all wreak havoc on your plant’s health if not regularly flushed.
Flushing Treats & Prevents:
Algae

Excess Salt Accumulation

Root Rot

Nutrient Deficiency
How Should I Flush my Semi-Hydroponic Plant?
As long as your plant is in a Wicking-Style or Submerged-Style Pot set-up, flushing is a breeze! Simply remove the inner pot from the reservoir and let water (like from your kitchen faucet) run over the roots & substrate to flush out the bad stuff. Optionally, you may want to empty & scrub the inside of your nutrient reservoir as well.
If you plant is in a single-pot set-up, you’ll likely have to completely remove your plant from its pot & substrate in order to flush the roots effectively.
How Often Should I Flush my Semi-Hydroponic Plant?
For newly transitioned plants, I recommend flushing once per week for the first month to remove any decaying old roots shed by your plant as it adapts to its new environment.
For established plants, flushing monthly is ideal ; flushing every 1-3 months is good practice. But life happens, & some semi-hydroponic enthusiasts claim they never flush. Do what works for you, but remember that flushing is an important tool in your toolbox if things go wrong!